Tips & Tricks
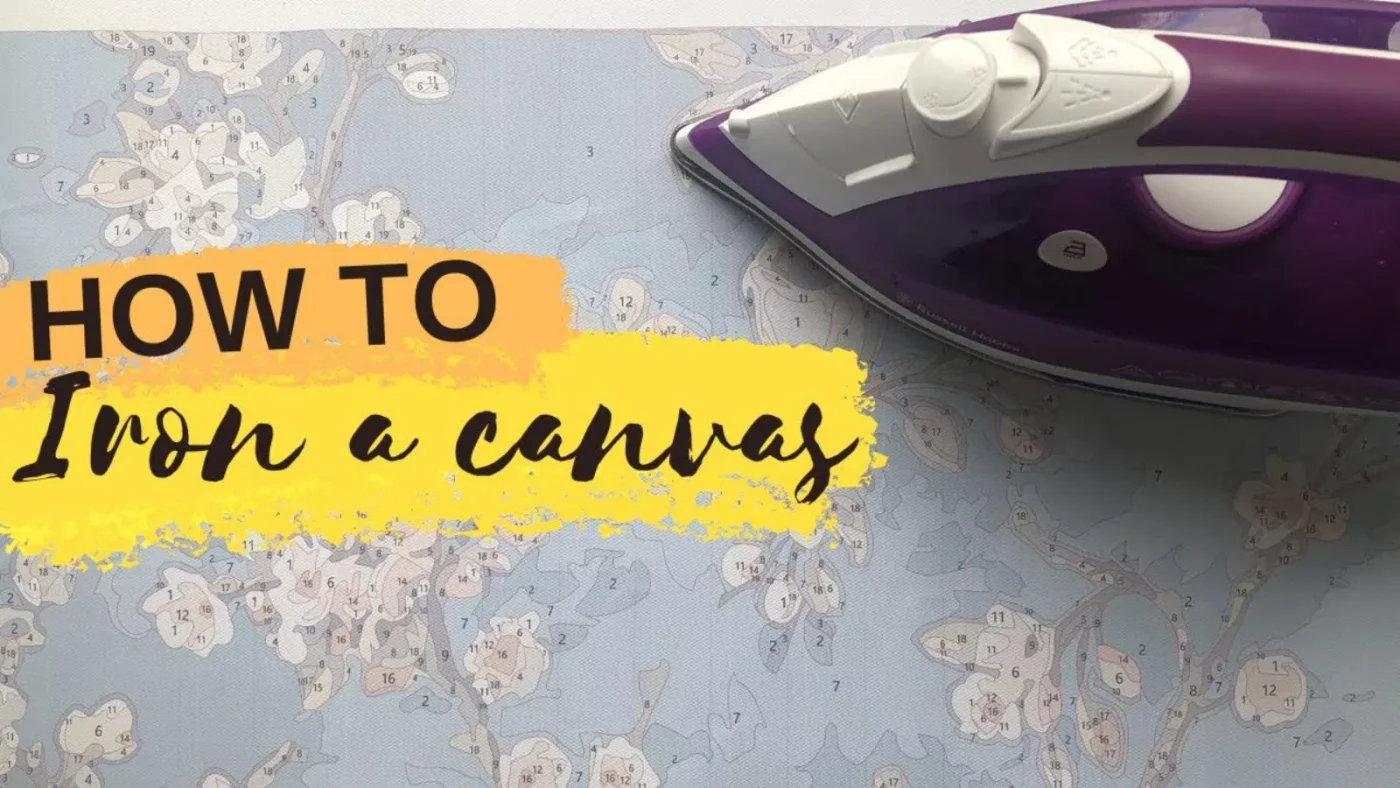
Ironing Your Paint By Numbers: Steps for a Smooth Start
Feb
Did you just unpack your new Paint By Numbers kit only to discover that the canvas is folded and wrinkled? It’s a frequent problem, but it can be a big letdown, particularly if you’re all set to release your inner Van Gogh. But do not worry! Ironing your Paint By Numbers canvas can do wonders, changing those bothersome wrinkles into a smooth canvas waiting for your creative touch. Let’s look at some helpful tips and methods to ensure your canvas is as pristine as the masterpiece you’re going to paint.
Why Iron Your Paint by Numbers Canvas?
Talking about the why would be wise before exploring the how. Usually supplied folded or rolled, paint by numbers creates pleats or folds on canvases that could negatively impact the painting process. These folds can detract away from the overall aesthetic of your finished artwork and make it harder to apply paint consistently. Apart from providing a smooth canvas for painting, ironing these pleats ensures that your artwork looks professional and neat when finished.
Preparation: Setting the Stage
Before you heat up your iron, there are a few preparatory steps you should follow to protect your canvas:
- Clean and Clear Workspace: Make sure your ironing area is spotless and devoid of anything that could find their way on the canvas.
- Necessary Supplies: An ironing board, an iron, and a thin towel or cloth to serve as an insurance policy between the canvas and the iron are required.
- Inspect the Canvas: Look for any evidence of ink on your canvas that could melt or spread with heat before anything else. Although most paint by numbers kits include heat-resistant inks, it’s always safer to verify this information.
Step-by-Step Guide to Ironing Your Canvas
Now, let’s get those wrinkles out:
Step 1: Set Up Your Ironing Board
Set up your ironing board in a well-lit place where you are able to clearly identify the wrinkles. No ironing board? Place a towel over any flat, heat-resistant surface as a substitute.
Step 2: Prepare the Iron
Put your iron on low to medium heat. Turn off the steam option; water droplets might ruin the canvas. Let the iron heated but not to the point where it could burn the fabric.
Step 3: Position the Canvas
While ironing, lay the canvas flat with its backside facing down. By doing this, you protect the printed side of the canvas from direct heat, which prevents the numbers and lines from fading.
Step 4: Cover with a Cloth
To protect your canvas from damage, place a small towel or old T-shirt on top of it. By dispersing the heat evenly and serving as a buffer, this fabric will keep your canvas safe from the iron’s direct touch.
Step 5: Start Ironing
Distribute the heat evenly by gently ironing over the towel in a caring, circular motion. Pay special attention to the wrinkled regions and push down gently if necessary. To prevent burns, it is important to avoid staying in a single spot for an extended period of time.
Step 6: Check Your Progress
Lift the towel often to see if the wrinkles are flattening. If they continue, try increasing the heat setting slightly or applying additional pressure. Still, use care to prevent harming the canvas.
Step 7: Let It Cool
Once the wrinkles have been eliminated, take away the towel and allow the canvas to air out on the ironing board for a few minutes. Flat cooling helps to fix the fabric and guarantees its velvety feel.
Additional Tips for Success
- Roll, Don’t Fold: Instead of folding your canvas, keep it rolled up to avoid further creases.
- Handling Stuck-On Wrinkles: Before ironing, gently spritz the rear of the canvas with water to help with tough creases. Make sure the front side is sufficiently protected, however, in order that water cannot seep through.
- Testing: If you are unclear about your canvas’s heat tolerance, try ironing a tiny corner or edge that will be hidden by a frame or border.
Innovative Canvas Techniques for Seamless Painting
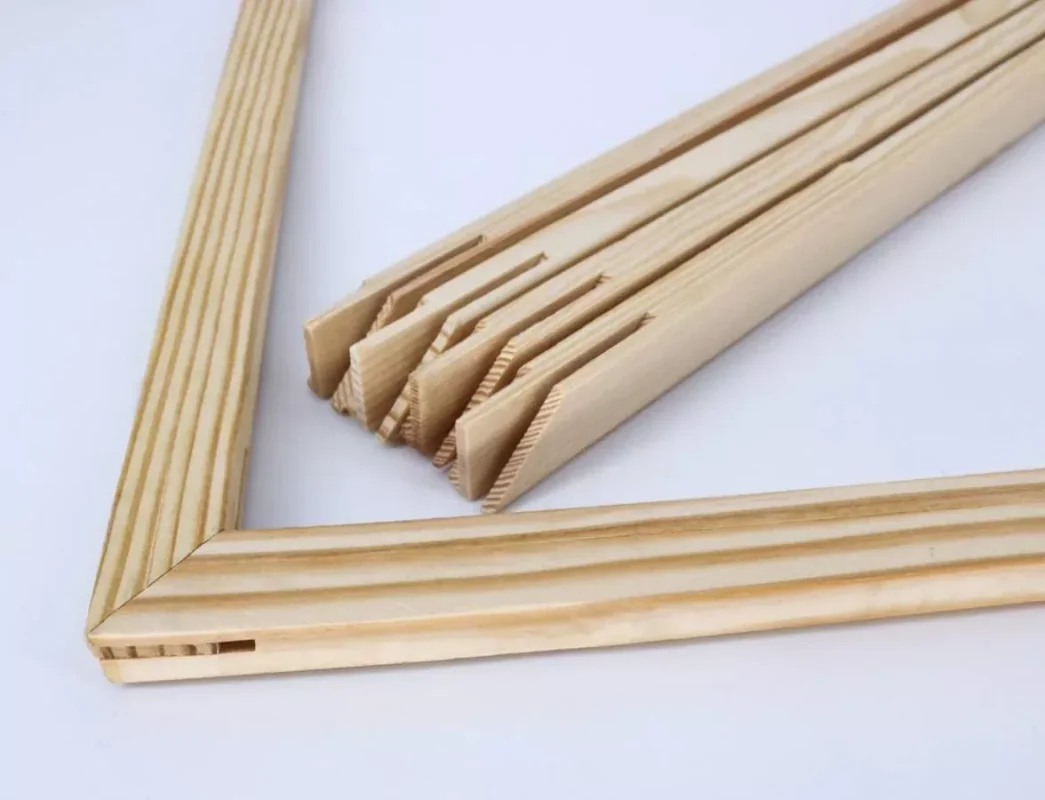
Using a Stretching Frame for Added Texture
Enhance your painting experience by using a wood canvas frame. By eliminating creases and creating a smooth surface, this strategy allows for more accurate painting. To guarantee equal tensioning, just staple or clip the canvas to the frame. This method not only sets your canvas for a perfect session but also gives your completed work a professional appearance.
Gravity-Assisted Smoothing with Horizontal Hanging
For a natural and gentle method, try hanging your canvas horizontally to let gravity smooth out the wrinkles. Secure the top edge to a rod or line in a space where it can hang freely. Leave it for several hours or overnight, checking periodically and using a fine mist of water on the back to help the process. This technique is ideal for larger canvases and those looking for an effortless preparation method.
One fast and easy approach to bettering your painting experience is ironing your paint by numbers canvas. Assured that every stroke will land perfectly on a well-prepared surface, you can start painting with confidence. Proper preparation enhances both the success and joy of your artistic endeavor, helping to craft a masterpiece. Thus, reheat that iron, straighten the creases, and permit your imagination to flow into a fresh painting.
Now that you’re clued in, you’ve got options galore for banishing those pesky wrinkles from your canvas, be it through the gentle art of ironing, the steadfast press of a pile of books, or the meticulous method of stretching. Tread lightly and treat your canvas with care to avoid any misadventures in fabric handling!
Curious about the therapeutic potential of paint by numbers, or pondering whether to iron out those folds in your canvas kit? Maybe you’re torn between a pre-made design and a custom paint by numbers masterpiece? Dive into Our Blog where your curiosities meet our expertise. Explore our treasure trove of insights today and gear up for a paint by numbers journey that’s nothing short of spectacular.