Tips & Tricks
Elevate Your Art: 10 Paint by Numbers Hacks for Success
Have you been looking for strategies to increase your paint by numbers game? Whether your goal is to improve your skill or you are a novice just learning the pleasures of painting, these ideas will help you elevate your art and transform your work into something quite remarkable. Paint by numbers is an artistic adventure that lets you express creativity, lower tension, and boost confidence, not only a leisure hobby. Let’s explore some useful ideas to turn your next endeavor into a masterwork.
Why Paint by Numbers?
Paint by numbers is more than simply producing art; it’s a therapeutic activity that allows you to relax, focus, and channel your inner artist. The beauty is in its simplicity; anyone, regardless of expertise, can pick up a brush and make something beautiful. But there is always room to improve your abilities and make your paintings shine brighter. Are you ready to elevate your art? Continue reading to learn 10 game-changing tricks for mastering paint by numbers.
1. Start with a Framed Canvas to Avoid Creases
A wrinkled canvas may rapidly make a fun painting session tiresome. Working with rolled canvases, even minor folds can compromise your brushwork and complicate your ability to apply paint evenly. If you have a rolled canvas, gently iron it on a low-heat setting with the printed side facing down; cover it with a thin cloth or parchment paper for protection.
Starting from a pre-stretched or framed canvas is the best approach, nevertheless. Framed canvases not only offer a flawlessly smooth surface but also extra stability, which increases painting enjoyment and accuracy. Moreover, you won’t have to search for a frame after finishing your masterwork, as your work will already be ready for exhibition, thereby saving you time and effort.
2. Prep with Gesso for Vibrant Colors
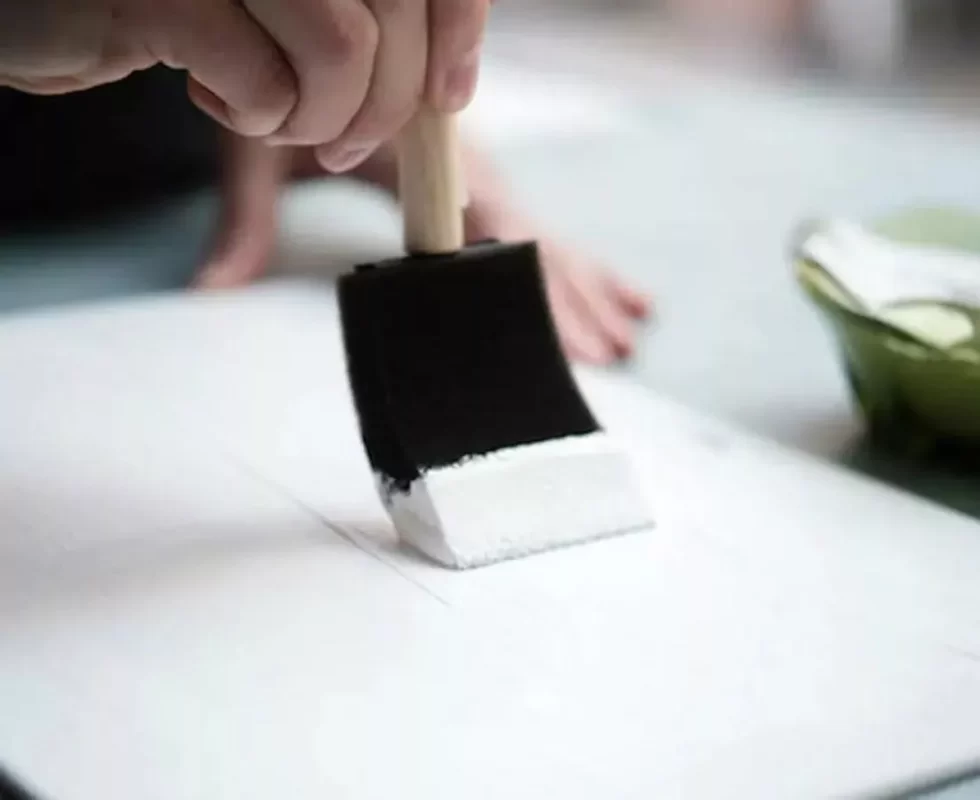
If you’ve ever felt like your colors aren’t popping the way you imagined, the secret might lie in your canvas preparation. Gesso, a primer commonly used by professional artists, creates a slightly textured surface that allows paint to adhere more effectively. By applying a thin layer of gesso before starting, you’ll notice a significant improvement in color vibrancy and consistency.
For best results, use a clear or white gesso and apply one to two thin coats, letting each layer dry completely. This step is especially useful when working on intricate designs or lighter color palettes, where uneven paint application or dull colors can be a challenge. Not only does gesso enhance color, but it also smooths out minor imperfections in the canvas, giving your painting a polished, professional look.
3. Choose a Well-Lit Workspace
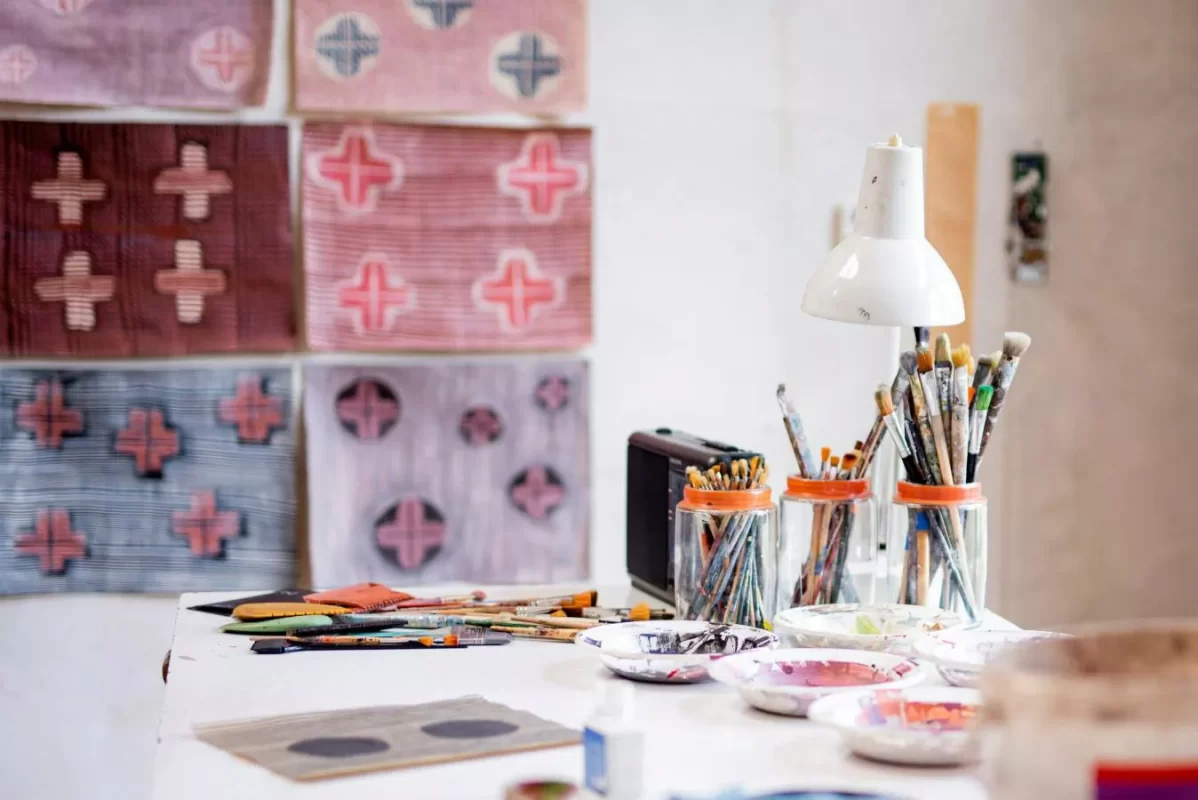
The lighting can make or break your painting experience. Eye strain, color misinterpretation, and trouble seeing fine details can all result from poor lighting. The ideal choice is natural light since it removes harsh shadows and gives your colors a true depiction. Purchase a daylight lamp that simulates sunshine if there is no natural light available. This will ensure constant brightness throughout the day.
In addition to lighting, having a well-organized workspace can make painting more fun. Place your brushes, paints, water, and cleaning tools in convenient reach. Protect your work surface with a plastic covering or newspaper to make cleanup effortless. A tidy, well-lit space not only boosts your focus but also keeps you relaxed and immersed in the creative process.
4. Work in Sections for Better Focus
Sort your painting into smaller, doable portions instead of working on the whole canvas at once. This method keeps you focused and orderly and helps you not let the enormity of the undertaking overwhelm you. Start in one region of the canvas and work your way to the next, totally complete. Working section by section can help you to more clearly see your development, which may be rather inspiring.
This approach guarantees a cleaner, more polished surface by lowering the possibility of inadvertent smudges or wet paint mixing. Focusing on smaller sections helps you to improve your technique and produce a harmonic, well-balanced finished work.
5. Begin with Dark Colors for Depth
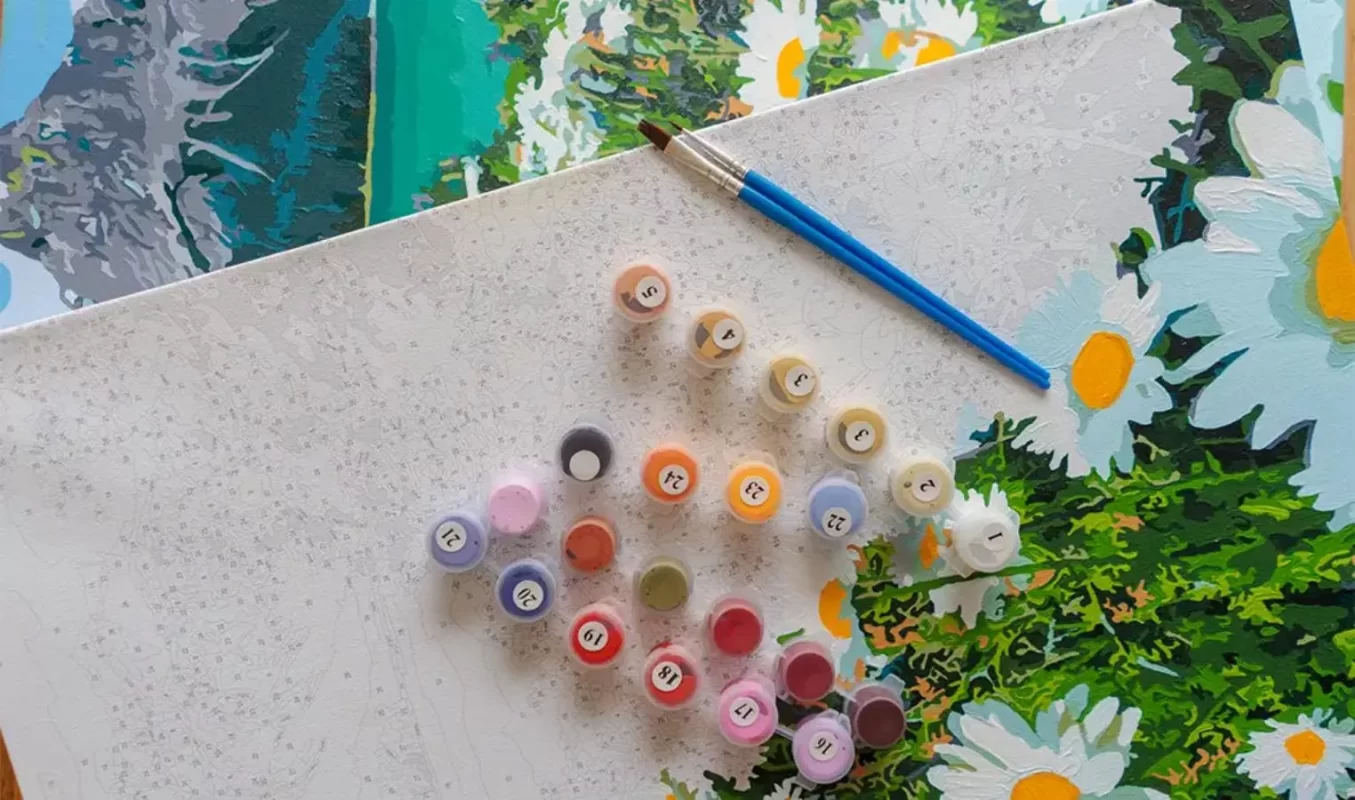
The process of strategically laying the groundwork for your painting begins with darker tones. Dark hues typically form the shadow or backdrop, providing your composition with structure and depth. Establishing these basic tones first helps you map the lighter colors, which will mix more smoothly in the scene.
For instance, in a landscape painting starting with the rich blues of the sky or the deep greens of the Forest Lake kit. Lighter colors, like sunlight highlights or delicate clouds, will accentuate the darker tones once these are in place, therefore producing a well-balanced and dynamic picture. This method clarifies the interaction of light and shadow as well as enhances the general aesthetic quality.
6. Double-Check Color Numbers
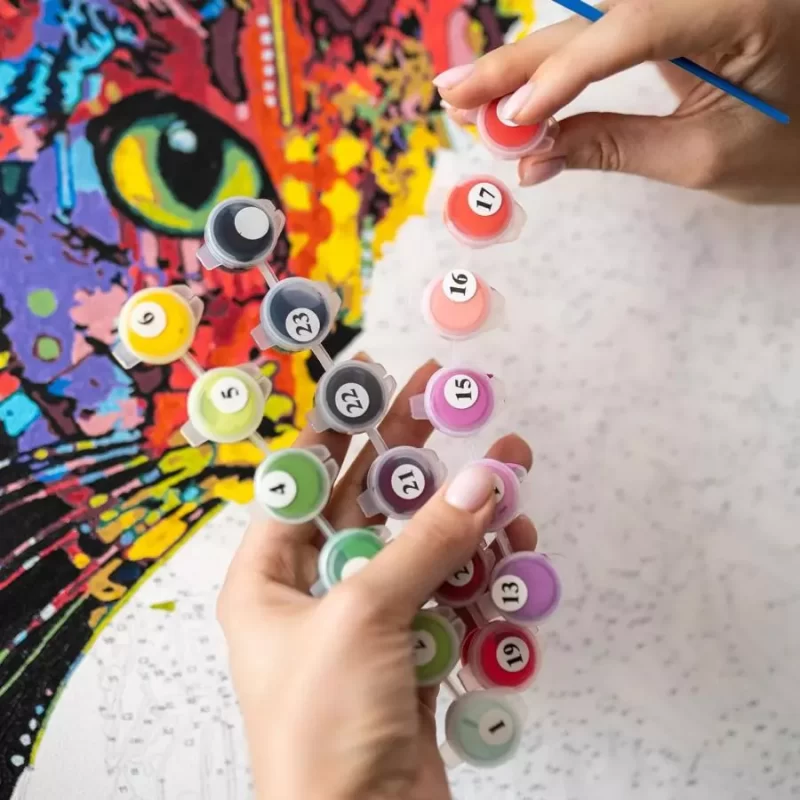
In the excitement of painting, particularly when working on an advanced detailed design, it’s easy to inadvertently select the wrong color. Before painting every area, give the numerals another check to help prevent mistakes.
Concentrating on a single color at a time enables you to apply that color to every designated spot before moving on to the next. Alternatively, you might work in little chunks, finishing all the colors in one area before working on another section of the canvas. If you find a flaw, let the paint dry entirely before applying the proper hue on top. This guarantees perfect coverage and helps avoid unwanted mixing.
7. Use Flow Improver for Smooth Strokes
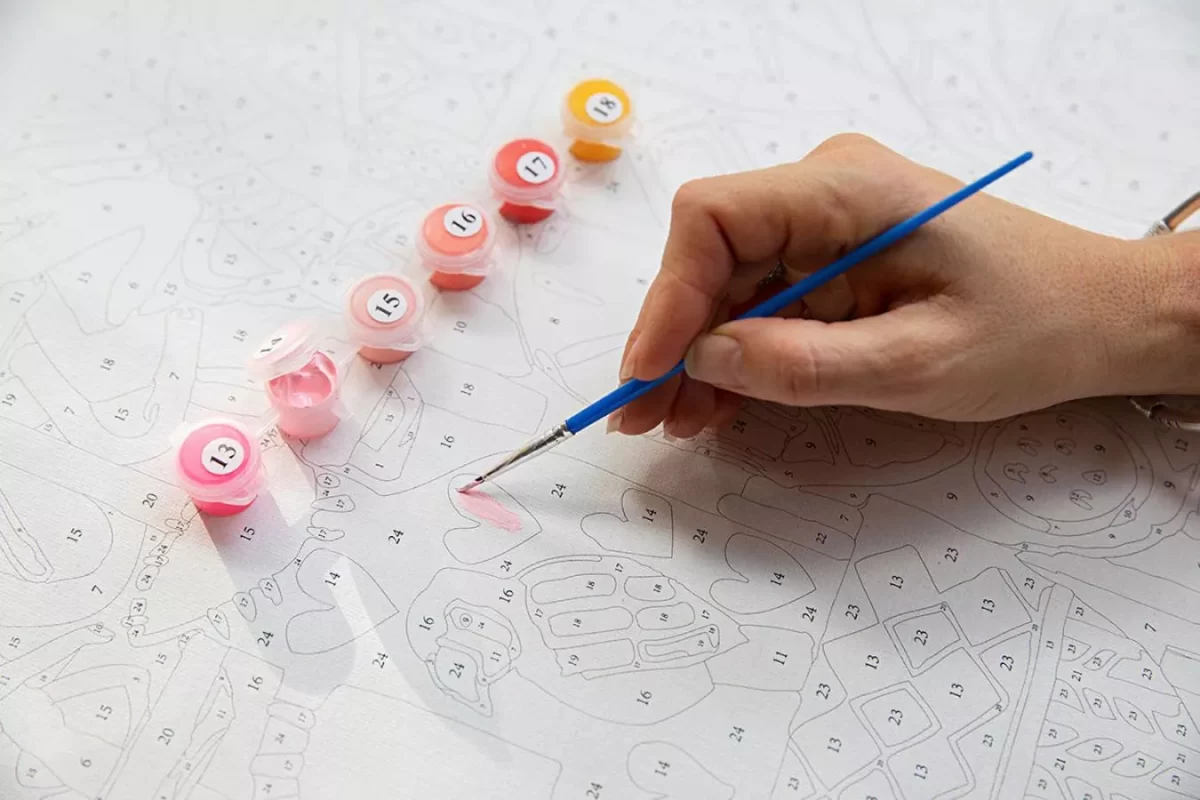
Although versatile, acrylic paint can occasionally feel thick and challenging to evenly distribute. Flow improvers, a game-changer, dilute the paint just enough to enhance its consistency without weakening color intensity.
To your paint, add a few drops of flow improver; stir thoroughly. Particularly in areas needing gradients or delicate transitions, you will find better mixing, less streaking, and more seamless application. This little improvement enhances both your painting experience and the final appearance, thereby giving your work a polished, professional touch.
8. Cover Numbers with a Light Base Coat
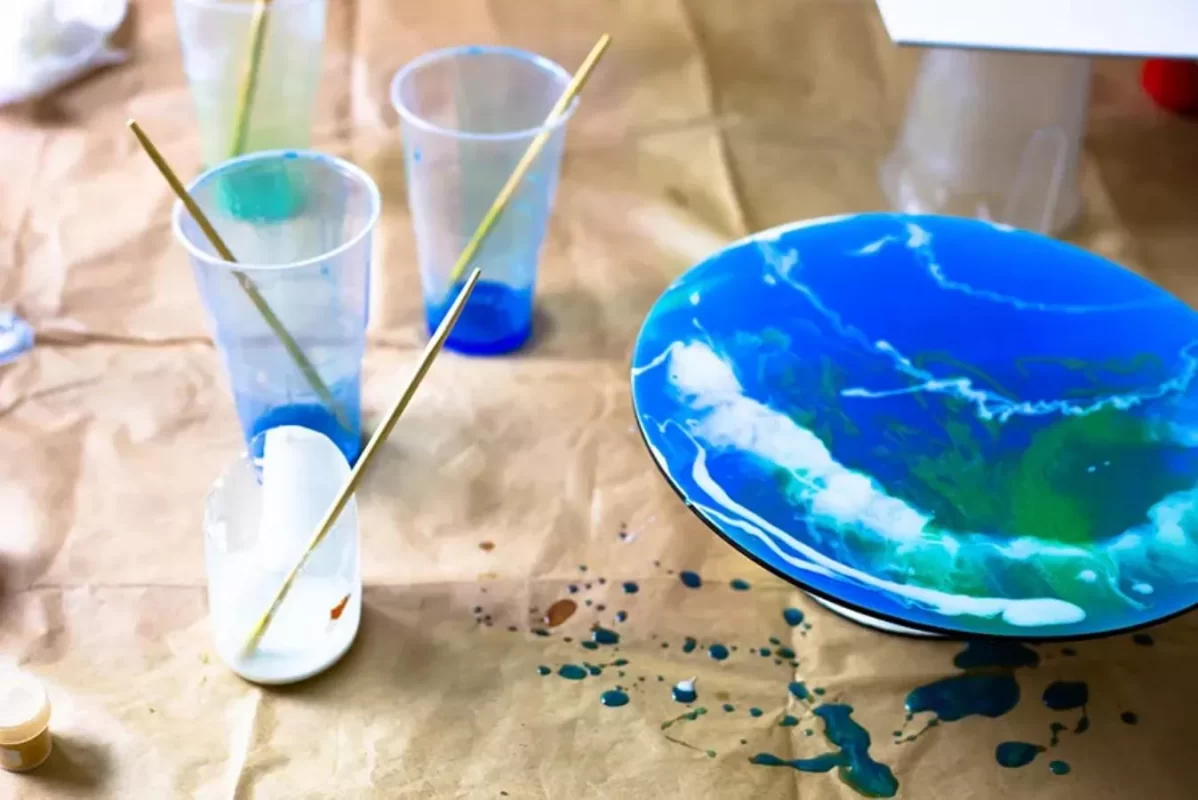
Occasionally, the printed numbers on the canvas may show through more subdued tones, causing an unwanted distraction in your completed piece. To prevent this, apply a thin layer of white paint or cover the numerals with a white gel pen before painting those sections.
This small procedure ensures that the final colors remain pure and continuous, resulting in a smooth and coherent appearance. This is especially important in areas where delicate pastels or brilliant highlights are used, as these colors tend to be more translucent.
9. Blend for a Seamless Look
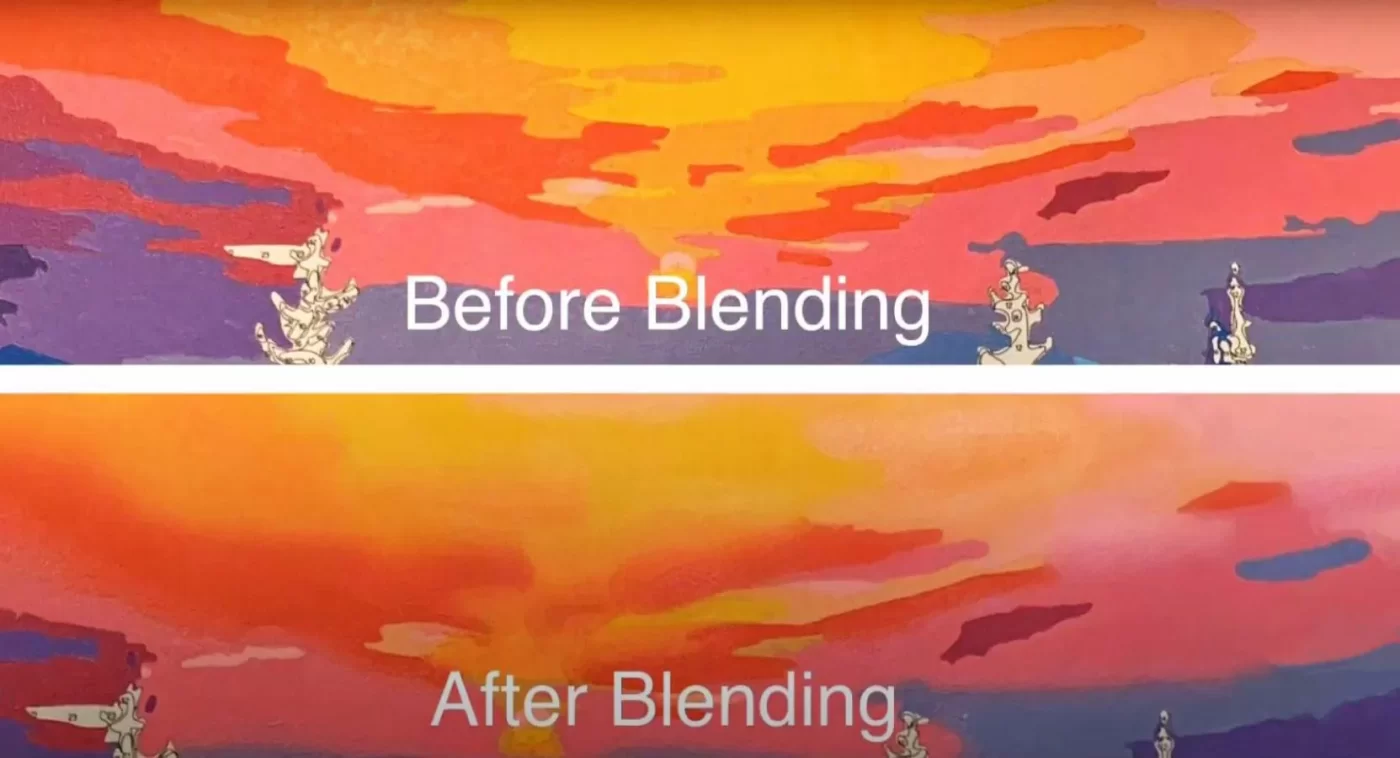
Blending is the secret tool for achieving a professional, natural look. When two colors meet on the canvas, use a clean, damp brush to softly soften the separation between them. Move the brush in small circles or short strokes along the edge to create a smooth transition.
Blending is particularly effective for landscapes, skies, and other areas where subtle gradients can add depth and realism. It’s a technique that takes practice but can dramatically elevate the overall quality of your art, giving it a more cohesive and artistic appearance.
10. Keep Brushes Clean and Ready
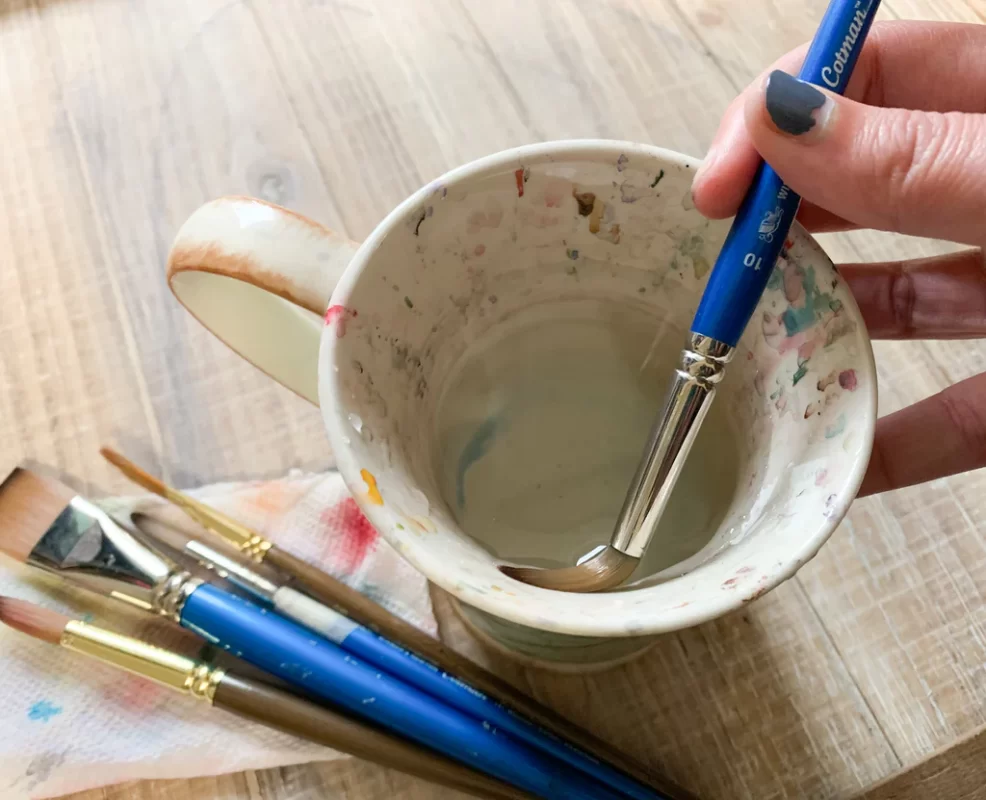
Keeping dirty brushes clean during your painting session is crucial since they can cause muddiness in colors and uneven application. Between colors, dip brushes into a bowl of water to rinse them, and dry them with a cloth to prevent too much water from diluting the paint. If you want to keep painting without getting your clothes dirty, it helps to know how to remove paint without ruining your clothes.
After your session, give your brushes a thorough wash using either mild soap or a brush cleanser. While the bristles are still damp, gently change their form. Maintaining the best possible condition of your brushes guarantees that every painting may have exact, crisp strokes.
Final Thoughts: Elevate Your Art Experience
Painting with numbers is more than just a method for producing art; it’s a gateway to liberation, imagination, and self-discovery. While improving your skills, following these guidelines will give you more opportunities to create artworks you can be proud of.
At Modern painting, we’re dedicated to helping artists of all levels succeed. Explore our wide range of kits designed to inspire and challenge you. Whether you’re painting for fun, relaxation, or as a creative outlet, these tips will take your experience to the next level.
Grab your Customized kit, set up your space, and let your artistic journey begin. Happy painting!

